For thought. I was watching an engine machine shop vid and they made the comment that an out of balance crank they were working on, at the small radius of a typical small block, was going to generate 1000 lbs force at say 5000(?) rpm in its state of imbalance.
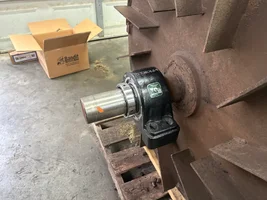
There's an "App Note" science to bearings where you plug in rpm, static load, dynamic load etc to see how much you shorten their life. I suppose you could rough in drum static weight, rpm but out of balance load is ? and so is the vibration/impact load of making a chip a ?. Mfr's probably know this stuff. I surmise the chip force spike is not all transmitted to the bearings, but some version of it because its an inertial collision with the mass of the drum "anchoring" the position of the drum against the chip reaction force. be that whatever as it may, you've at least got control of reducing rotational imbalance forces that tend to shake, crack and wear out everything. Guessing the knives would prove to be consistent, hole mount locations were ok and haven't moved, just leaves executing some kind of balance check while it's still easy to add weld. I propose belly heavy test where if the drum bearings are too stiff to see it roll to heavy down, do a perpendicular spring force "torque to spin" test like for setting wheel bearing pre-load and see if any position is different, indicating you're raising or lowering the heavy belly spot. just for thought.
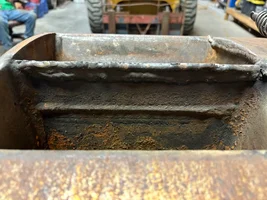
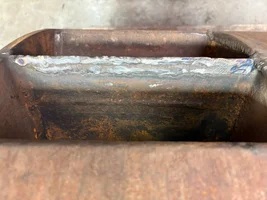
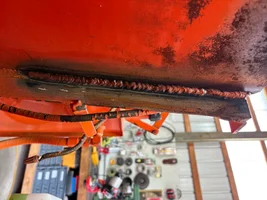
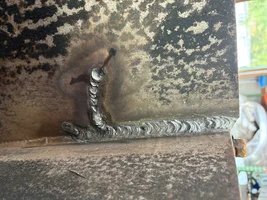
don't you love welding janky old metal, always comes out so pretty like a shiny stack of dimes
")
special sizzle too


")


